Buildroot Setup for Nagami
Introduction
This section guides you through cloning the NetCube Systems Buildroot repository and creating your first custom Linux image for the Nagami System-on-Module (SoM). The process is intended for developers, but is also suitable for advanced hobbyists who are comfortable working on the command line and building embedded Linux systems from source.
You will clone the Buildroot repository, select an appropriate Nagami carrier board configuration, and build a bootable image.
Prerequisites
Before proceeding, ensure you have the following:
- A host system running:
- A Debian-based Linux distribution or
- Windows Subsystem for Linux 2 (WSL2) with a Debian-based distro
- The required build dependencies installed via
apt:
sudo apt update
sudo apt install -y \
sed make binutils build-essential diffutils gcc g++ bash patch \
gzip bzip2 perl tar cpio unzip rsync file bc findutils wget git
````
⚠️ Building Buildroot images can take significant time and disk space, especially on slower systems or inside WSL.
---
## Step 1: Clone the Buildroot Repository
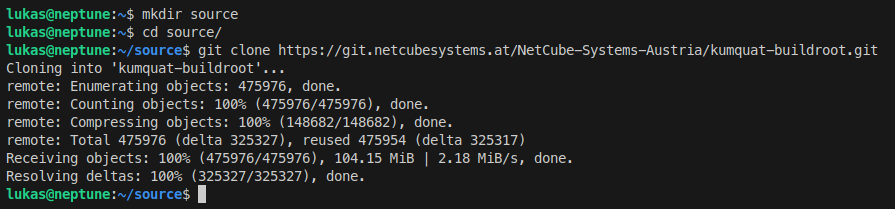
1. Open a terminal on your host system.
2. Clone the NetCube Systems Buildroot repository:
```shell
git clone https://gitlab.com/netcube-systems-austria/buildroot.git
Step 2: Select a Nagami Configuration
- Change into the cloned repository directory:
cd buildroot
-
Select the appropriate default configuration depending on your carrier board:
-
Nagami Basic Carrier
make netcube_nagami_basic_carrier_defconfig
- Nagami Keypad Carrier
make netcube_nagami_keypad_carrier_defconfig
These defconfigs configure Buildroot with the correct kernel, bootloader, device tree, and userspace defaults for the selected Nagami carrier board.

Step 3: Build the Image
- Start the build process:
make
-
The build process may take anywhere from several minutes to a few hours depending on:
-
CPU performance
- Available RAM
- Disk speed
Progress is shown directly in the terminal.
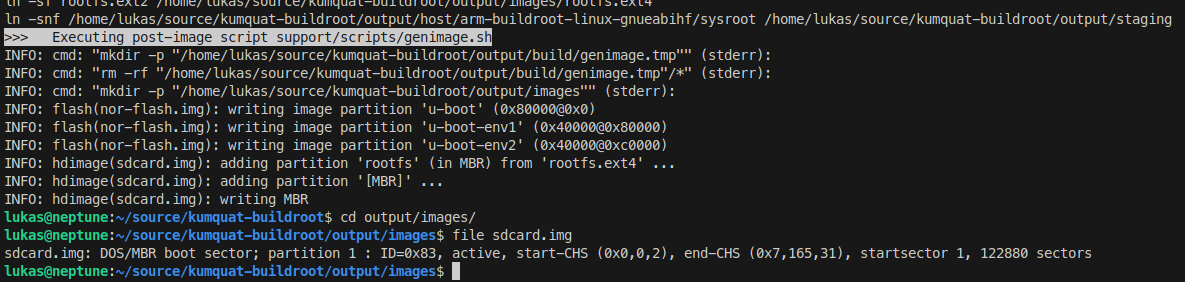
Step 4: Obtain the Built Images
- After the build completes successfully, navigate to:
output/images/
-
This directory contains the generated artifacts, such as:
-
Kernel images
- Device tree blobs
- Root filesystem images
- Flashable images (depending on configuration)
The exact filenames depend on the selected defconfig and image layout.
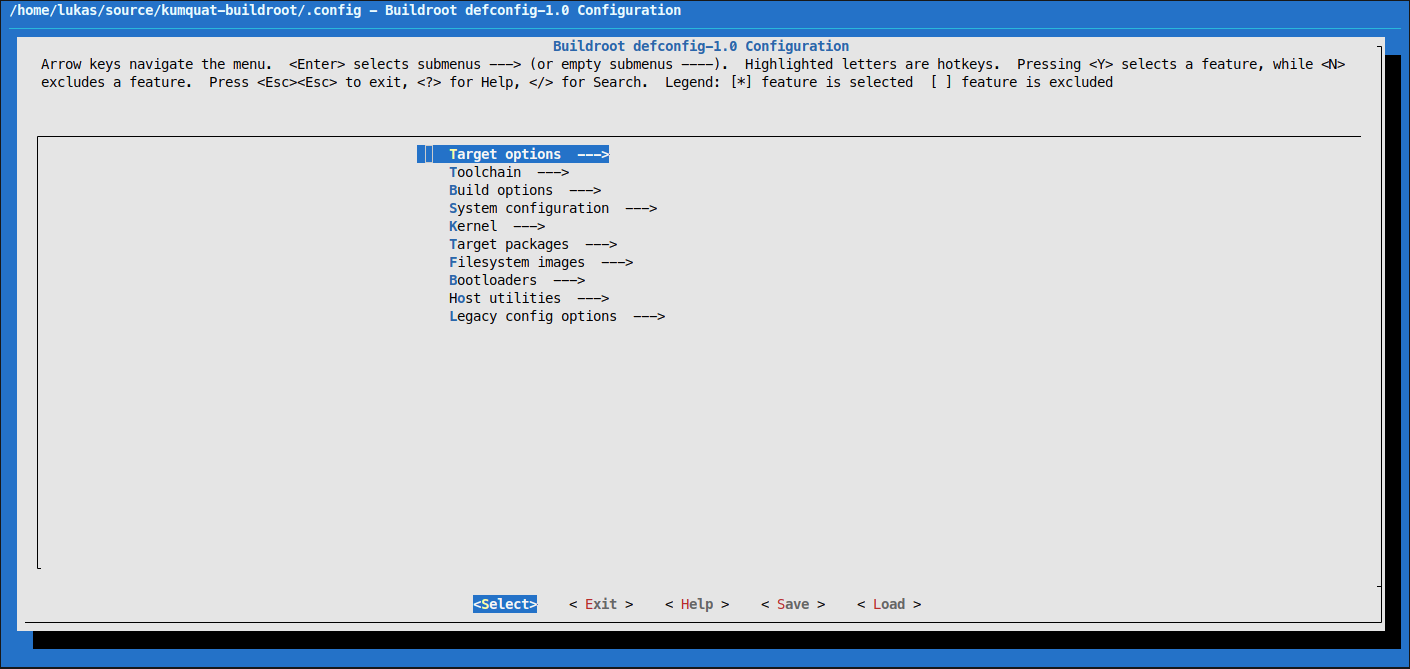
Step 5: Customize the Build (Optional)
- To modify the Buildroot configuration, run:
make menuconfig
-
Use the menu interface to customize:
-
Kernel options
- Packages
- Filesystem layout
- Toolchain settings
- Save your changes and rebuild the image:
make
Any changes you make will be reflected in the newly generated images under output/images/.
Notes for Developers
- The provided defconfigs are intended as starting points, not final production configurations.
-
You are expected to:
-
Review security settings
- Configure users and passwords
- Enable or disable services as needed
- If you are unsure about preconfigured defaults, inspect the defconfig or modify it to suit your project.
Conclusion
You have successfully cloned the NetCube Systems Buildroot repository, configured it for the Nagami System-on-Module, and built a custom Linux image. From here, you can iterate on your configuration, integrate your own applications, and tailor the system for your specific hardware and use case.
For deeper customization and advanced topics, refer to the official Buildroot documentation: https://buildroot.org/downloads/manual/manual.html